How to update kitchen countertops and save money is a common concern for many homeowners. Luckily, there are several simple and cost-effective methods to refresh your counters, giving your kitchen a whole new look without the expense and mess of a full replacement. One budget-friendly option is to use a tile backsplash, which can also be installed over existing countertops and backsplashes for a transformative effect.
Here are five tried-and-true methods:
- Paint Your Countertops
- Use Peel-and-Stick Products
- Install Laminate Sheets
- Apply Epoxy Coating
- Tile Over Existing Countertops
These techniques offer quick transformations and are often DIY-friendly, allowing you to achieve high-end style on a budget. Whether you’re looking to modernize your kitchen or enhance its functionality, updating your countertops can make a significant impact.
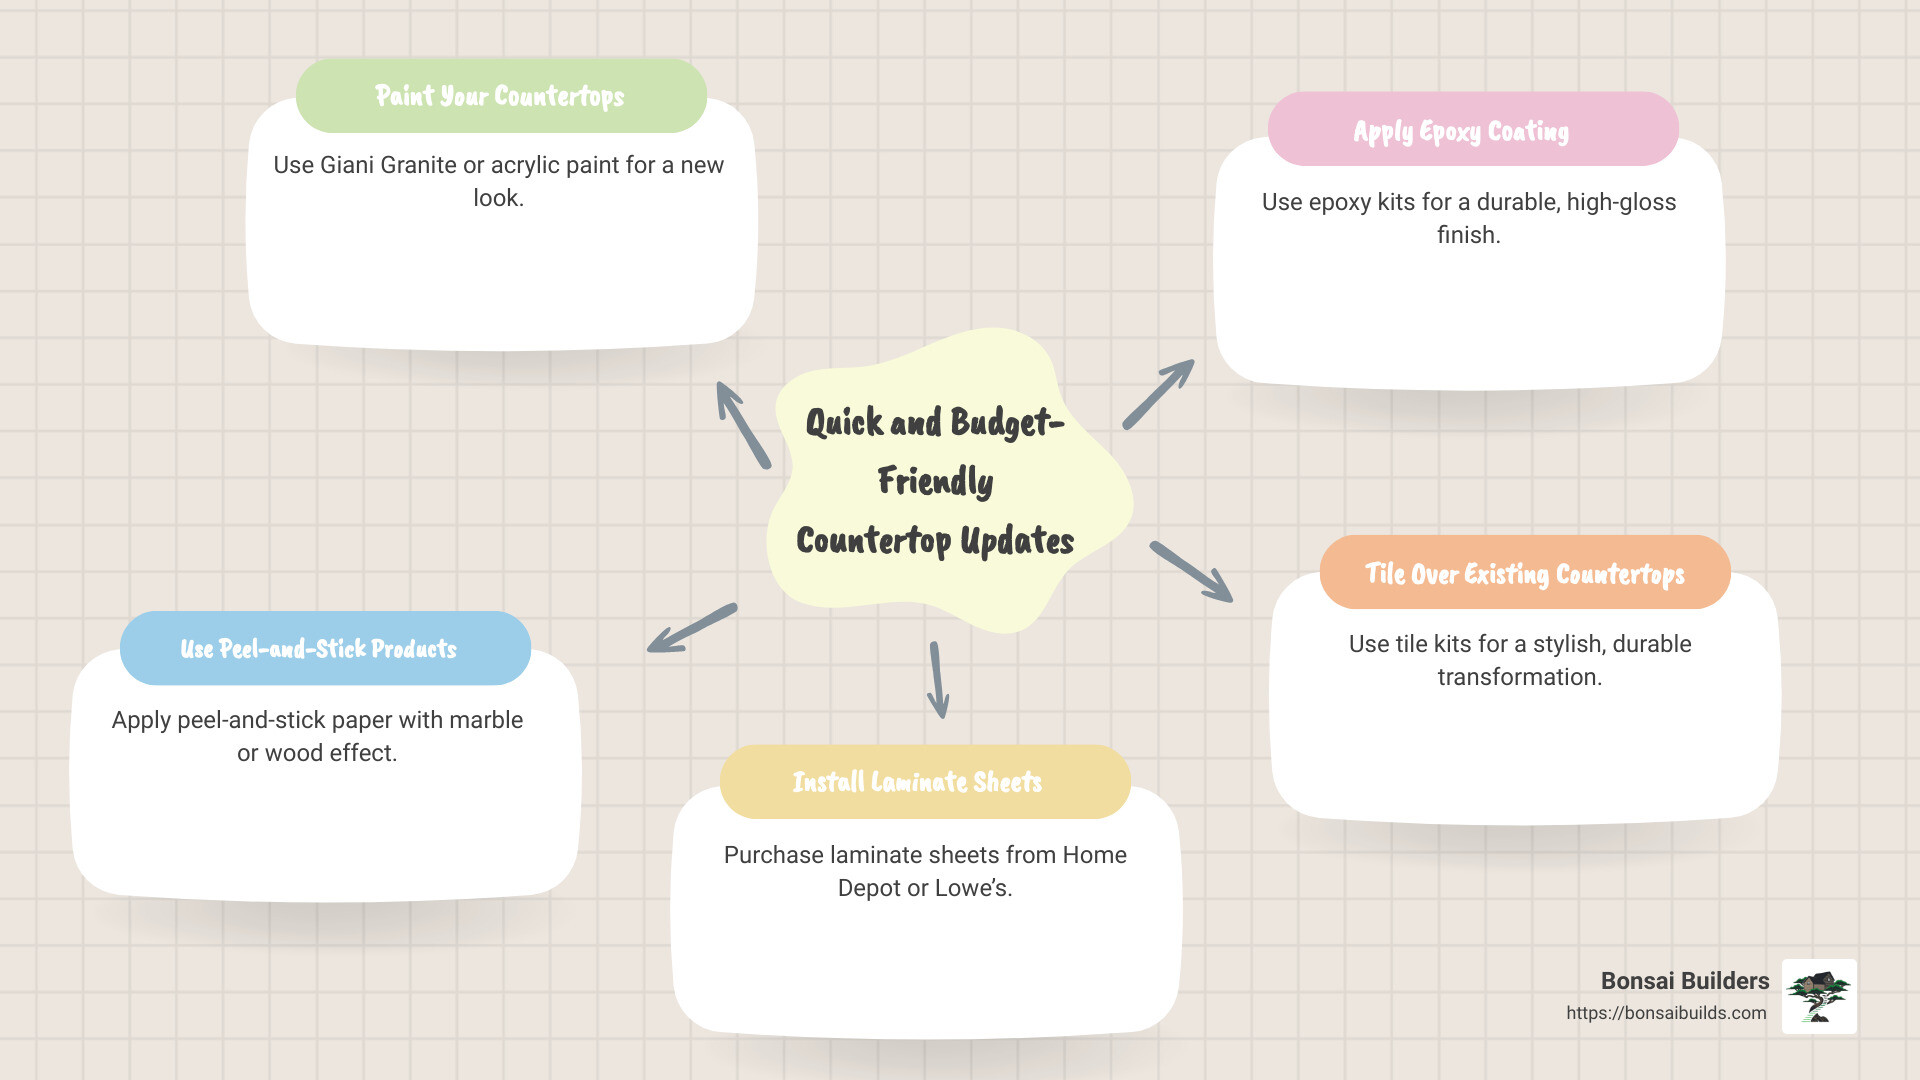
Table of Contents
Paint Your Countertops
Painting your kitchen countertop is a fantastic way to give your kitchen a fresh look without breaking the bank. It’s a more permanent solution than peel-and-stick products but still affordable and DIY-friendly. Using a paint kit, such as the Giani Granite Countertop Paint Kit, is a convenient option for painting countertops.
Step-by-Step Guide
- Cleaning: Start by thoroughly cleaning your countertops. Use soap and water with steel wool to remove any stuck-on grime. Clean at least twice more to ensure no particles remain.
- Sanding: Lightly sand the surface to help the paint adhere better. This step is crucial for a long-lasting finish.
- Priming: Apply a primer if you’re using regular acrylic paint. If you opt for specialized countertop paint like Giani Granite, you can skip this step. Roll the primer on in 2’x 2′ sections to keep a wet edge, ensuring even coverage. Alternatively, using a refinishing kit like the Rust-Oleum Countertop Transformation Kit can simplify the process and provide professional-looking results.
- Painting: Use a paint roller for an even coat. Apply at least two layers for full coverage. If you’re using Giani Granite, follow their sponge painting technique. Use different mineral colors to create a textured look. Work in small sections and let each color dry before moving to the next.
- Sealing: If you used acrylic paint, seal the surface with a special resin made for countertops. For Giani Granite, apply the acrylic top coat as directed. This step is vital for durability and a polished finish.
Pros and Cons
Pros
- Affordability: Painting is one of the most cost-effective ways to update your countertops.
- Customization: You can choose any color or pattern, making it easy to match your kitchen’s aesthetic.
- DIY-Friendly: With the right tools and preparation, painting countertops is a manageable DIY project.
Cons
- Durability: Painted countertops can chip or scratch over time, especially in high-use areas.
- Maintenance: Regular touch-ups may be needed to keep them looking fresh.
- Time-Consuming: The process involves multiple steps, including cleaning, sanding, priming, painting, and sealing.
Painting your countertops can be a game-changer, offering a budget-friendly way to transform your kitchen. For a more detailed guide on painting techniques and products like Giani Granite, check out their YouTube tutorials.
Next, we’ll explore Peel-and-Stick Products as another simple and affordable option for updating your kitchen countertops.
Use Peel-and-Stick Products
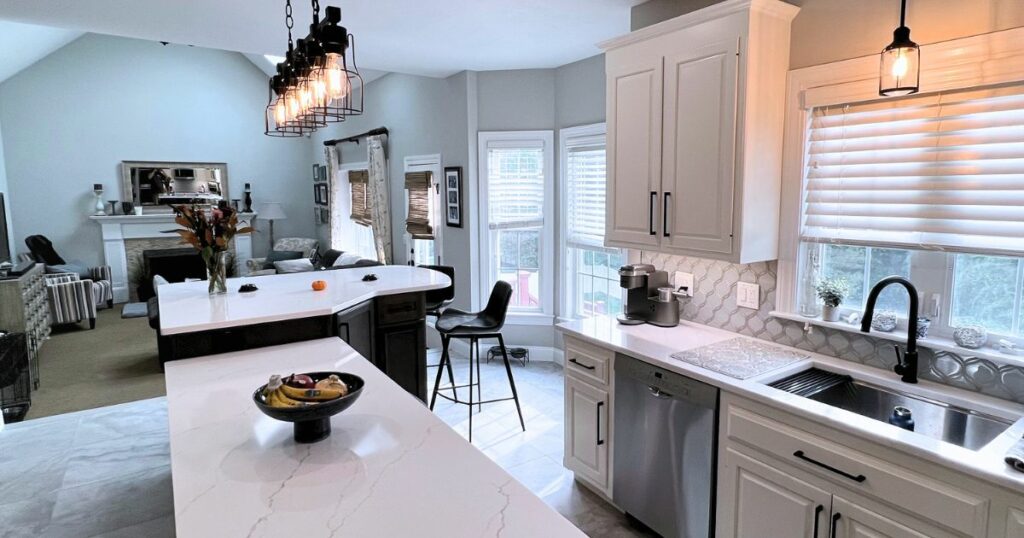
Peel-and-stick products are a popular choice for how to update kitchen countertops quickly and affordably. These products come in various designs, including marble and wood effects, and can be a great temporary solution.
Using a tile backsplash is another budget-friendly option for updating kitchen countertops, and peel-and-stick tile backsplashes can also be used alongside peel-and-stick countertop products for a complete kitchen update.
Application Tips
- Surface Preparation: Ensure the surface is clean, dry, and smooth. Any dirt or unevenness can prevent the adhesive from sticking properly.
- Cutting to Size: Measure your countertop carefully and cut the peel-and-stick paper to fit. It’s a good idea to buy more material than you think you’ll need in case of mistakes.
- Removing Air Bubbles: As you apply the paper, use a squeegee or a similar tool to smooth out air bubbles. Start from one end and work your way to the other.
- Adhesive Strength: For added durability, consider using a strong adhesive spray on the surface before applying the paper. This will help keep the paper in place for a longer period.
Pros and Cons
Pros:
- Ease of Application: Peel-and-stick products are user-friendly and don’t require specialized tools or skills. This makes them ideal for DIY enthusiasts.
- Cost-Effectiveness: These products are generally affordable, making them a budget-friendly option for a quick kitchen facelift.
- Variety: Available in many styles, from marble to wood effects, allowing you to customize your kitchen’s look easily.
Cons:
- Temporary Nature: Peel-and-stick papers are not as durable as other materials. They are best for short-term solutions and may need to be replaced more frequently.
- Durability: These products can peel, chip, or scratch over time, especially in high-traffic areas. They are not as resistant to heat or moisture as other countertop materials.
Using peel-and-stick products can be a simple and cost-effective way to update your kitchen countertops. If you’re looking for a quick fix that doesn’t require a lot of effort, this might be the perfect solution for you.
Next, let’s dive into Install Laminate Sheets, another practical approach for countertop updates.
Install Laminate Sheets
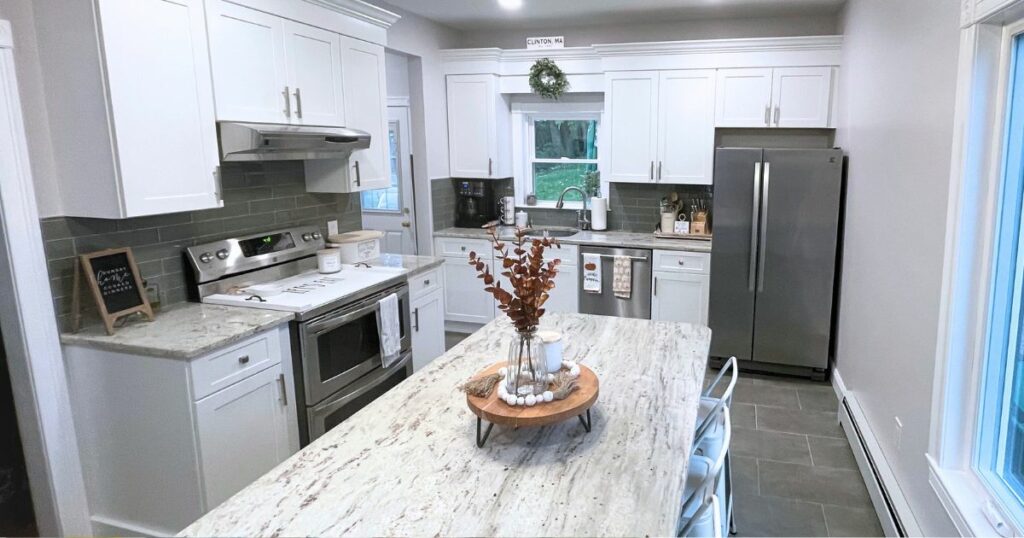
Updating your kitchen countertops with laminate sheets is a practical and cost-effective method. Laminate sheets, available at stores like Home Depot and Lowe’s, offer a wide range of styles and colors, making it easy to find a look that suits your kitchen. Butcher block countertops are another affordable option that can be refinished to give a kitchen a new look.
Step-by-Step Guide
- Measuring: Start by measuring your countertops precisely. This ensures you purchase the correct amount of laminate. Measure the length and width, and add an extra inch to each dimension for trimming.
- Cutting to Size: Using a fine-tooth saw or a laminate cutter, cut the laminate sheets to the measured size. Make sure to wear safety goggles and gloves to protect yourself from sharp edges and debris.
- Surface Preparation: Clean the existing countertop thoroughly. Sand the surface lightly to ensure proper adhesion. Remove any dust with a vacuum or a damp cloth.
- Adhesive Application: Apply a laminate adhesive to both the countertop surface and the back of the laminate sheet. Wait until the adhesive becomes tacky to the touch before proceeding.
- Adhering the Laminate: Carefully position the laminate sheet over the countertop, starting from one edge. Use a J-roller to press the laminate down, working from the center outwards to remove air bubbles.
- Trimming Edges: Once the laminate is securely adhered, use a router with a laminate trimming bit to trim the excess material from the edges. Be sure to move the router from left to right to avoid chipping.
- Finishing Touches: Smooth the edges with a fine file or sandpaper to remove any roughness. Apply a sealant to the seams to prevent moisture from seeping in.
Pros and Cons
Pros
- Cost-Effective: Laminate sheets are one of the most affordable options for updating countertops. Prices typically range from $10 to $40 per square foot, depending on the style and quality.
- Variety: With numerous colors and patterns available, you can easily find a laminate that mimics more expensive materials like granite or marble.
- DIY-Friendly: Many homeowners find laminate sheets relatively easy to install with basic tools and a bit of patience.
Cons
- Durability: While laminate is resistant to stains and scratches, it is not as durable as materials like granite or quartz. It can be damaged by sharp objects and excessive heat.
- Appearance: Some people feel that laminate does not have the same high-end look as natural stone. However, high-quality laminates can come close.
- Installation Difficulty: Cutting and adhering laminate sheets requires precision. Mistakes can lead to visible seams or misaligned edges, so take your time and measure carefully.
Installing laminate sheets is a budget-friendly way to update your kitchen countertops. With a bit of effort, you can achieve a fresh, new look that enhances your kitchen’s overall appeal.
Next, let’s explore Apply Epoxy Coating, a method that offers a glossy and durable finish for your countertops.
Apply Epoxy Coating
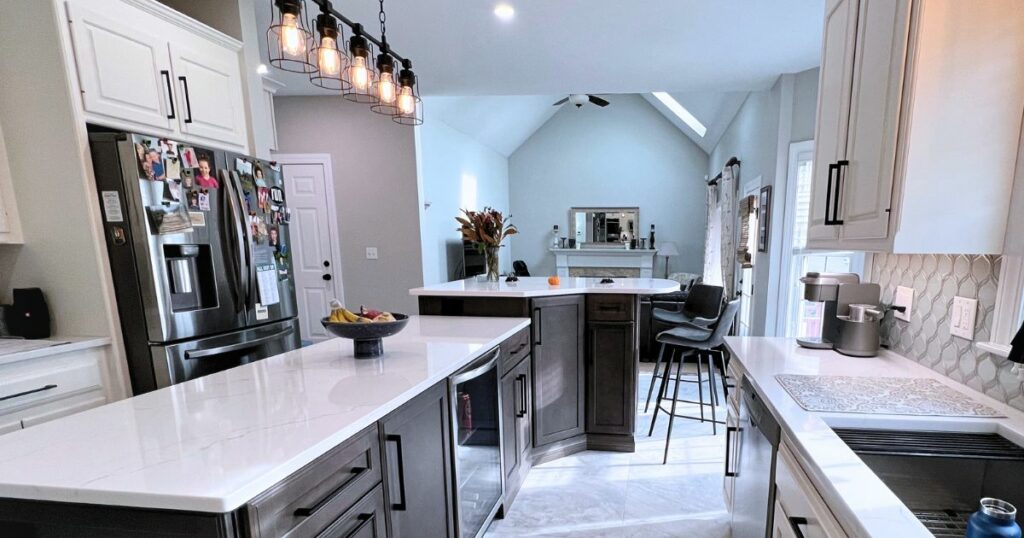
Applying an epoxy coating is a fantastic way to give your kitchen countertops a durable, high-gloss finish. This method can mimic the look of marble or other luxurious materials without the hefty price tag. Granite countertop film is another option for achieving a high-end look without the cost of real granite. Let’s dive into the details.
Step-by-Step Guide
- Surface Preparation: Start by thoroughly cleaning your countertops. Remove any dirt, grease, or debris to ensure the epoxy adheres well. Lightly sand the surface to create a rough texture, and then clean off the dust.
- Mixing Epoxy: Follow the instructions on your epoxy kit, such as those from Rustoleum. Typically, you’ll need to mix a resin and a hardener. Stir the mixture thoroughly to ensure it’s well-blended.
- Pouring: Pour the mixed epoxy onto the center of the countertop. Use a notched trowel or a spreader to evenly distribute the epoxy across the surface.
- Spreading: Use a brush or roller to spread the epoxy to the edges and corners. Make sure the layer is even and free of bubbles.
- Curing: Allow the epoxy to cure as per the manufacturer’s instructions. This usually takes about 24-48 hours. During this time, keep the area dust-free and avoid touching the surface.
Pros and Cons
Pros:
- Durability: Epoxy coatings are incredibly durable and can withstand daily wear and tear.
- Heat Resistance: Properly cured epoxy is heat-resistant, making it ideal for kitchen countertops.
- Aesthetic Appeal: Achieve a high-gloss, marble-like finish that enhances the look of your kitchen.
- Customization: Epoxy can be tinted or mixed with different pigments to create unique designs.
Cons:
- Application Complexity: Mixing and applying epoxy requires precision and care. Mistakes can be hard to fix once the epoxy starts to cure.
- Cost: While not as expensive as natural stone, epoxy kits can still be pricey, especially for larger countertops.
- Time-Consuming: The process, including curing time, can take several days, during which your kitchen will be out of commission.
Epoxy coatings can transform your kitchen countertops into a stunning focal point. With patience and attention to detail, you can achieve a professional-looking finish that lasts for years.
Next, let’s explore Tile Over Existing Countertops, a method that offers a classic and customizable look for your kitchen.
Tile Over Existing Countertops
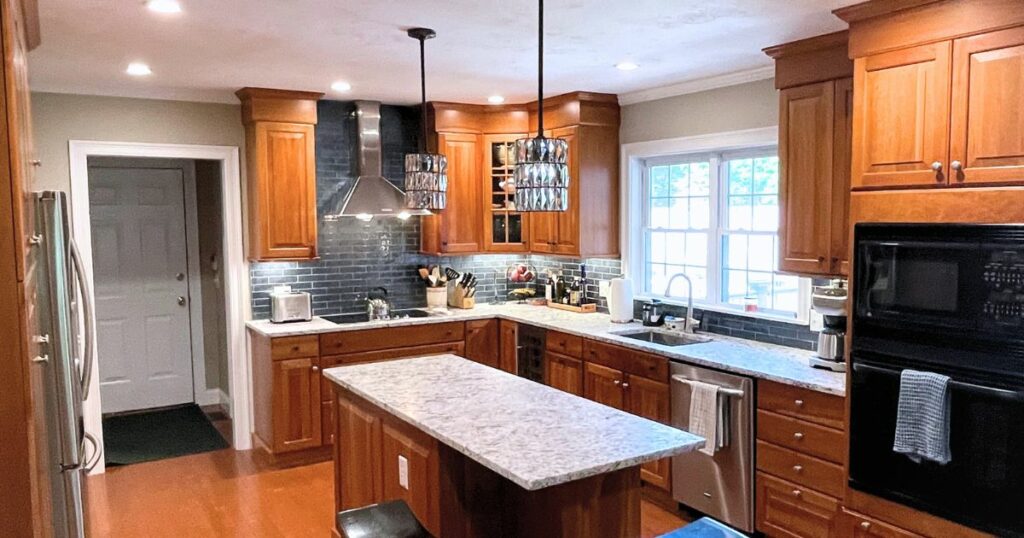
Tiling over existing countertops is a great way to give your kitchen a fresh, classic look. It’s a bit more involved than some other methods, but the results can be stunning and durable. Tiling can also be a great alternative to installing new counters.
Additionally, incorporating a tile backsplash can be a budget-friendly option to further enhance the overall aesthetic of your kitchen remodeling project.
Step-by-Step Guide
- Surface Leveling: Ensure the countertop is level and free of any cracks or damage. You might need to fill in gaps with putty and sand it smooth.
- Adhesive Application: Apply a laminate adhesive to the surface. This helps the tiles stick better. Make sure to cover the entire area evenly.
- Fiberglass Paper: Lay down fiberglass paper over the adhesive. This adds an extra layer of stability and helps prevent cracking.
- Mortar Application: Spread a thin layer of mortar over the fiberglass paper. Use a trowel to make sure it’s even.
- Tile Placement: Carefully place the tiles on the mortar. Press them down firmly to ensure they stick. Use spacers to keep the tiles evenly spaced.
- Grouting: Once the tiles are set, apply grout between them. Use a grout float to push the grout into the spaces and then wipe away any excess with a damp sponge.
Pros and Cons
Pros
- Aesthetic Appeal: Tiles come in various styles, colors, and patterns. You can customize your kitchen to match any design preference.
- Durability: Properly installed tiles are very durable and can withstand heat, stains, and scratches.
Cons
- Installation Time: This method can take several days, especially if you include drying times for the adhesive and grout.
- Skill Requirement: Tiling requires a bit more skill and precision compared to other methods. Beginners may find it challenging.
By following these steps, you can achieve a beautiful and durable tiled countertop. While it may take some time and effort, the results are well worth it.
Next, let’s move on to answering some common questions about How to Update Kitchen Countertops with various methods.
Conclusion
Updating your kitchen countertops doesn’t have to break the bank or involve a complete renovation. With a little creativity and the right materials, you can achieve stunning results that breathe new life into your kitchen. From painting and peel-and-stick solutions to installing laminate sheets, epoxy coatings, or tiles, there are plenty of options available to fit any budget and skill level.
Bonsai Builders specializes in luxury home construction, offering master craftsmanship and exquisite designs tailored to your tastes. With over 26 years of experience and hundreds of projects completed, we are the trusted choice for kitchen remodeling in Massachusetts. Our team is dedicated to delivering impeccable results that meet your vision of a dream kitchen.
Whether you’re looking to update your countertops or undertake a complete kitchen remodel, our experts are here to help. We pride ourselves on our attention to detail and commitment to quality, ensuring that every project we undertake is a masterpiece of design and functionality.
Ready to transform your kitchen? Contact us today and let’s turn your kitchen into a space you’ll love for years to come.
Frequently Asked Questions about How to Update Kitchen Countertops
How can I update my old countertops without replacing them?
Updating your old countertops can be done without the hassle and expense of replacing them. Here are some simple and effective methods:
- Interior Film: This is a decorative vinyl that can be applied directly over your existing countertops. It’s easy to install, produces no dust or odors, and can last over 10 years. Interior film comes in various textures and patterns, making it a versatile option.
- DIY Concrete: Pouring concrete over your old countertops can give them a modern, industrial look. Concrete is customizable in terms of color and texture. This Old House suggests creating a mold and pouring the concrete directly on top of the existing surface.
- Paint: Painting your countertops can give them a completely new look. Products like Giani Granite offer kits that include everything you need to transform your counters to look like granite or marble. Using a counter tops paint kit, like the Giani Granite Countertop Paint Kit, is a convenient way to update old countertops without replacing them.
- Tile: You can tile over your existing countertops using tile kits. This method requires some skill but offers a durable and aesthetically pleasing finish. Home Depot and Lowe’s offer a variety of tile options.
- Terrazzo Imitation: Using epoxy kits, you can create a terrazzo-like finish on your countertops. This involves mixing and pouring epoxy over the surface, then adding decorative chips for a unique look.
How to update a kitchen without replacing granite countertops?
If your granite countertops are still in good condition but you want to give your kitchen a fresh look, consider these updates:
- Paint Cabinets: A fresh coat of paint on your cabinets can dramatically change the look of your kitchen. Choose a color that complements your granite countertops.
- Update Backsplash: Adding or updating a backsplash can enhance your kitchen’s aesthetic. Peel-and-stick tilesare a budget-friendly and easy-to-install option.
- Change Hardware: Swapping out old handles and knobs for new ones can give your kitchen a modern touch. Look for hardware that matches the style of your granite.
- Modern Fixtures: Updating your sink, faucet, and lighting fixtures can make a big impact. Choose modern designs that match your overall kitchen theme.
- Update Kitchen Counters: Updating kitchen counters with methods like painting, laminating, or using peel-and-stick products can refresh the look of your kitchen without replacing granite countertops.
How do I update my countertops on a budget?
Updating your countertops doesn’t have to break the bank. Here are some budget-friendly options:
- Faux Marble: Use paint or contact paper to create a faux marble look. This is a cost-effective way to achieve a luxurious appearance.
- Contact Paper: Peel-and-stick contact paper can be applied directly over your countertops. It’s a temporary solution but very affordable and easy to replace if needed.
- Stainless Steel: For a sleek, industrial look, consider stainless steel contact paper. It’s durable and easy to clean.
- DIY Copper: Copper contact paper can give your countertops a unique, rustic look. It’s also antibacterial, adding a functional benefit.
- Faux Granite: Products like Giani Granite offer kits that can transform your countertops to look like granite at a fraction of the cost.
By exploring these options, you can find a method that fits your budget and style, making your kitchen look fresh and updated without the need for a full replacement.
Our Content
Our experienced contractors and design specialists carefully review and edit all content to ensure it meets our high standards for quality and accuracy. We do this to provide our readers with content that is accurate, complete, reliable, and up-to-date. Bonsai Builders, located in Sutton, Massachusetts is a trusted neighborhood building source across Massachusetts for kitchen remodeling, construction process of brand new houses, laminate countertops, and more with over 26 years of experience and over 125 jobs completed.
Bonsai Builders has renovated many split-level home kitchens across Massachusetts. Bonsai Builders is selected as best of Houzz year after year further showing their expertise and trust among homeowners in Massachusetts.

