

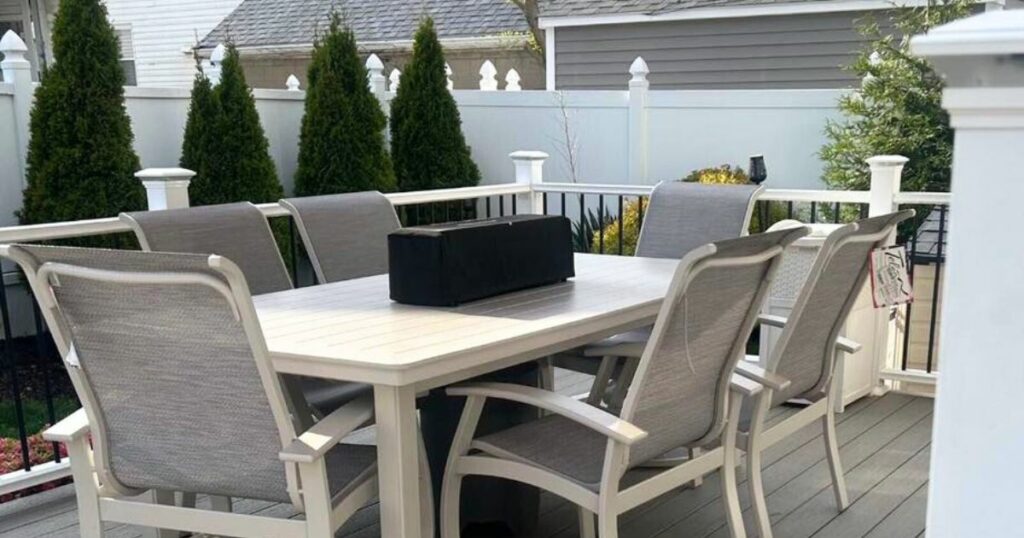
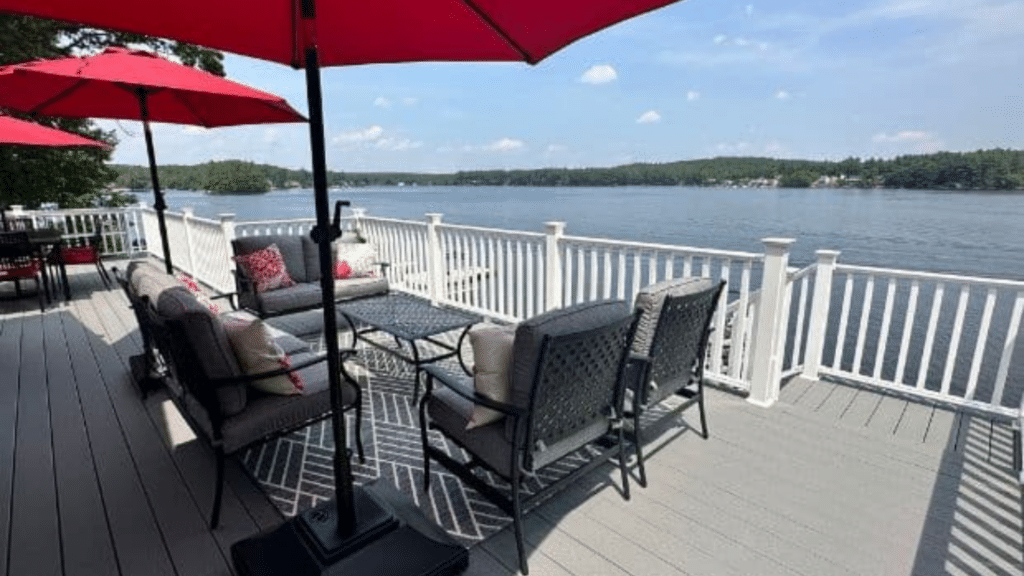
Creating a privacy fence on deck is a fantastic way to make your outdoor space more private and comfortable. One option to consider is using a privacy lattice, which can add both privacy and aesthetic appeal to your deck. Whether you want to enjoy a quiet moment away from prying eyes, block unsightly views, or reduce wind and noise, a privacy fence or constructing privacy walls can make all the difference.
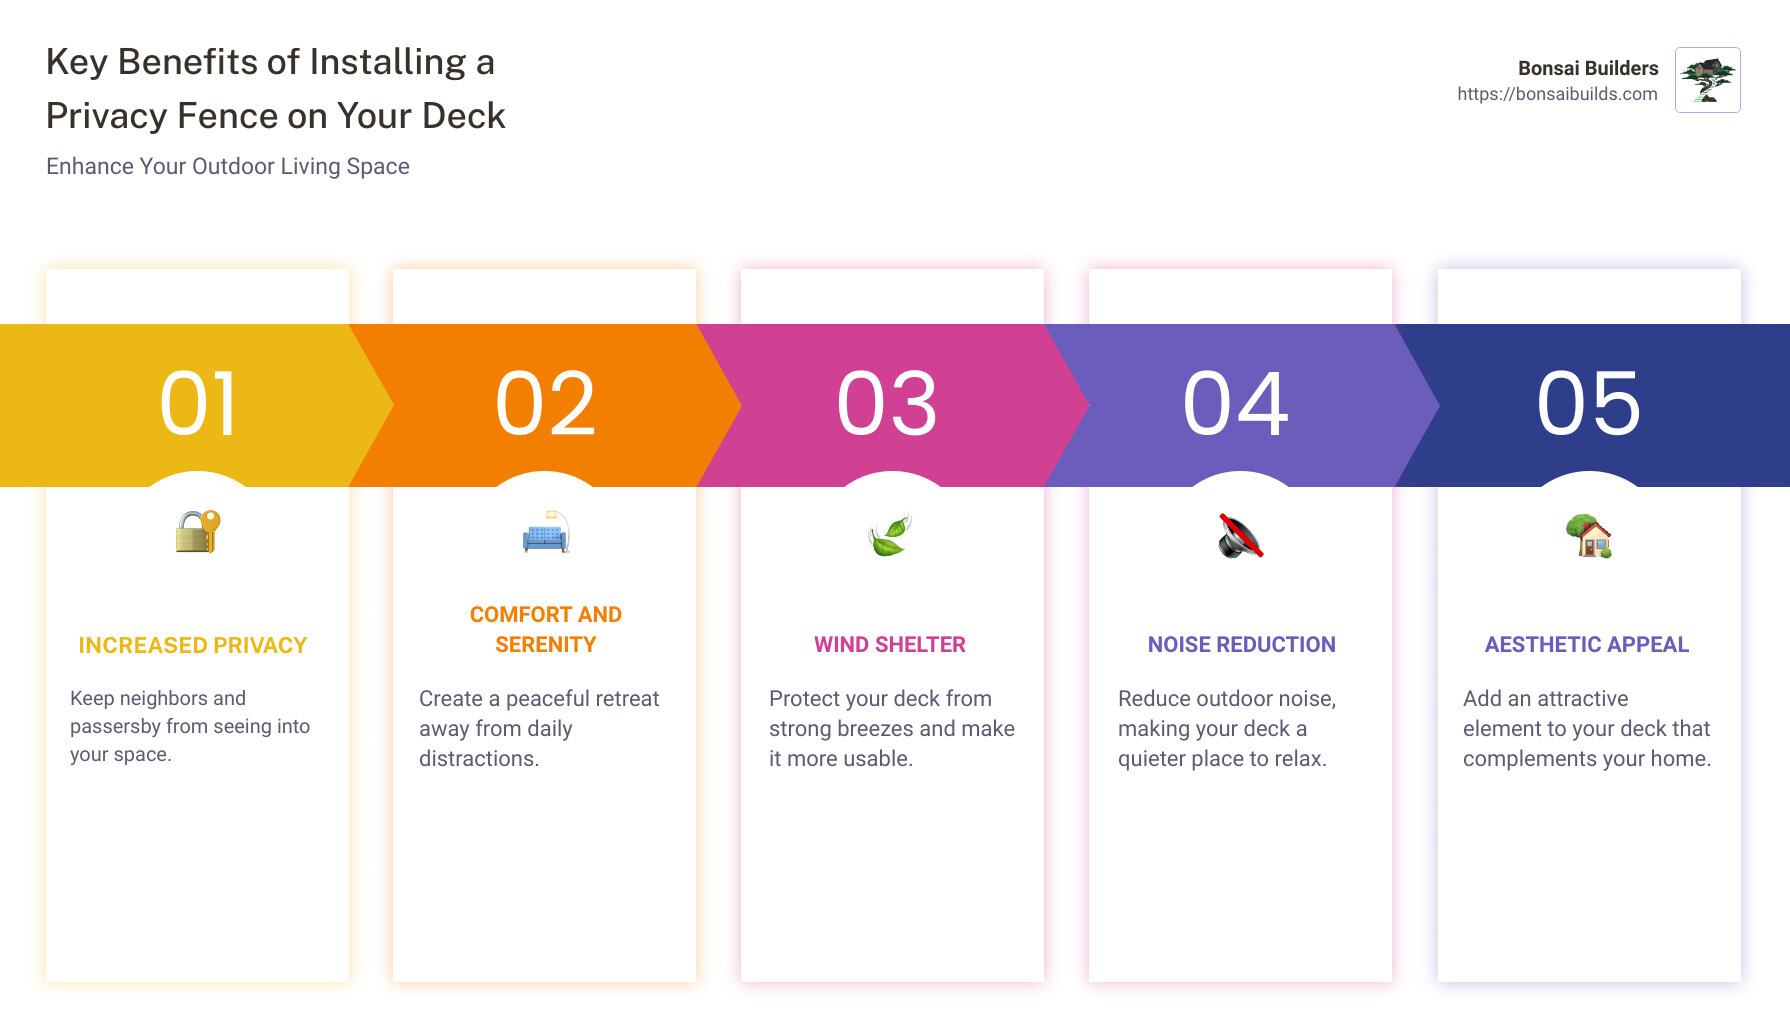
Here are the key benefits of installing a privacy fence on your deck:
- Increased privacy: Keep neighbors and passersby from seeing into your space.
- Comfort and serenity: Create a peaceful retreat away from daily distractions.
- Wind shelter: Protect your deck from strong breezes and make it more usable.
- Noise reduction: Reduce outdoor noise, making your deck a quieter place to relax.
- Aesthetic appeal: Add an attractive element to your deck that complements your home.
In the following sections, we will guide you through the planning, materials, tools, and step-by-step process to help you install a privacy fence on your deck the right way. We’ll also share design ideas and cost considerations to make your project a complete success. Let’s get started!
Table of Contents
Planning Your Privacy Fence Project
Planning is the first and most crucial step to installing a privacy fence on deck. Here’s how to get started:
Draw Up Your Plan
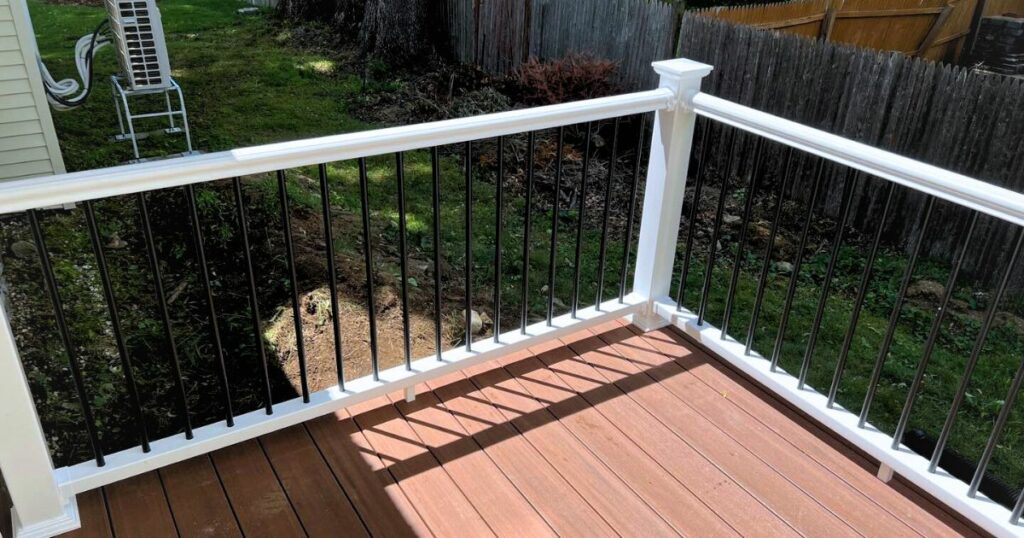
Start by sketching a detailed plan of your deck. Include measurements and mark where you want the privacy fence to go, including the placement of fence posts. Consider the placement of privacy lattice panels for a seamless design. Think about how the new fence will blend with your existing railing. You might need to cut and rejoin parts of the railing to make it fit seamlessly.
Pro Tip: Take a look at our example from the research where the top railing was cut and rejoined to the side of the last upright post. This creates a smooth transition and an uninterrupted flow.
Buy Materials
Next, make a list of all the materials you’ll need. Here’s a basic list:
- Construction-grade cedar: Durable and weather-resistant.
- Pressure-treated wood: For added durability and resistance to decay.
- Galvanized screws and nails: To prevent rusting.
- Deck cleaner: To match the new wood with the existing deck if it’s weathered.
You can get these from your local home center. If you prefer delivery, ask if you can personally select each piece of wood to ensure quality.
Pro Tip: To visually blend the privacy fence with your original deck, use the same type of wood. If your existing deck is weathered, you can either wait for the new sections to weather naturally or use a deck cleaner to wash away the gray wood fibers immediately.
Measure Your Deck
Accurate measurements are key. Measure the length of the deck where you want to install the fence. This will help you determine how many panels you’ll need. Each panel is typically 14-3/4 inches wide, measured from the center of one post to the center of the next.
Pro Tip: If your deck has unique dimensions, adjust the width of the panels accordingly. For narrower panels, reduce the space between posts. For wider panels, increase the space and possibly add partial slats.
Determine Panel Sizes
Once you have your measurements, decide how many full-size panels you’ll need and if any panels need to be adjusted for width. The panel closest to the house might be a different width, so plan accordingly.
Pro Tip: The section that connects to the existing railing should be a full-size panel. Make sure to cut the original railing exactly as needed to fit this panel perfectly.
Select Wood Type
Choose construction-grade cedar for its durability and aesthetic appeal. This wood is readily available in standard widths, so little cutting is required. Plus, it’s resistant to rot and insects, making it ideal for outdoor use.
Pro Tip: Selecting the wood yourself ensures you get pieces that look good on all sides, which is important since your fence will be visible from both inside and outside the deck.
Careful planning will make the rest of your project go smoothly. In the next section, we’ll discuss the tools and materials you’ll need to gather before starting your privacy fence installation.
Tools and Materials Needed
Before you start building your privacy fence on deck, gather all the necessary tools and materials. This will save you time and frustration. Here’s what you’ll need:
Essential Tools
- Circular Saw: For cutting lumber quickly and accurately. Ideal for straight cuts.
- Handsaw: Useful for smaller, precise cuts that are hard to reach with a circular saw.
- Sawhorses: Provides a stable platform for cutting lumber.
- Speed Square: Ensures your cuts are at perfect right angles.
- Tape Measure: Accurate measurements are crucial. Measure twice, cut once!
- Level: Keeps everything straight and even, preventing a lopsided fence.
- Cordless Drill/Driver: For drilling pilot holes and driving screws. A cordless one gives you mobility.
- Hammer: For nailing components together.
- Safety Glasses: Protect your eyes from flying debris and sawdust.
- Pry Bar: Handy for removing old nails or prying apart boards.
Required Materials
- 3-1/2-in. Galvanized Screws: Rust-resistant and strong, perfect for securing posts and rails.
- 3-in. Galvanized Screws: For attaching slats and smaller components.
- 4d Galvanized Nails: Small nails for trim work.
- 6d Galvanized Nails: Larger nails for attaching rails and other structural elements.
- Construction-Grade Cedar: Durable and resistant to rot and insects. This wood is ideal for outdoor use and requires minimal cutting.
- Top Rail: Essential for securing cleats to the rail pieces and the underside of each top rail when installing slats on a deck privacy screen.
- Privacy Lattice Panels: Used to enhance privacy and add a decorative element to your fence.
Quick Tip
Pro Tip: Avoid last-minute shopping trips by having all your materials ready ahead of time. This will keep your project on schedule and reduce stress.
Additional Considerations
- Concrete Anchors: If you need to attach your fence to a house with stucco or brick, concrete anchors will be necessary to secure the screws.
- Deck Sealer: To protect your wood from weathering, a clear deck sealer is essential.
Having these tools and materials at hand will make your project more efficient and enjoyable. With everything ready, you can move on to assembling the lumber and supplies, ensuring a smooth installation process.
Step-by-Step Guide to Installing a Privacy Fence on Deck
Step 1: Assemble Lumber and Supplies
Before you start building, gather all the necessary materials and tools. You’ll need construction-grade cedar, which you can find at most home centers. Cedar is durable and looks great. Aim for minimal cutting to save time.
Tools you’ll need:
- Circular saw
- Handsaw
- Sawhorses
- Square
- Tape measure
- Level
- Cordless drill
- Hammer
Materials you’ll need:
- Lumber (cedar)
- Galvanized screws (3-1/2-in. and 3-in.)
- Galvanized nails (4d and 6d)
Step 2: Build the Frame
Start by setting up the frame for your privacy fence. This involves placing the posts and railings in a symmetrical layout. Follow Figure A for details on spacing and fastening the posts.
- Posts: Ensure the upright posts are secure and evenly spaced. This will be the backbone of your frame.
- Rails: Attach the upper and lower rails to the posts. Use 3-1/2-in. galvanized screws for stability.
Tip: Fasten your fence to the house for added stability, especially if you have a stucco or brick surface. You’ll need concrete anchors for this.
Step 3: Fasten Horizontals
Once the frame is in place, it’s time to fasten the horizontal rails. This step is crucial for the overall stability of your privacy fence.
- Upper Rails: Position and fasten the upper rails securely to the posts.
- Lower Rails: Do the same for the lower rails, ensuring they are level.
Photos 4–6 and Figure A will guide you through this process.
Step 4: Install the Slats
Now, it’s time to install the privacy slats. This is where your privacy fence starts taking shape.
- Slats: Cut and nail the slats to the frame. Make sure to space them evenly for a symmetrical look.
- Nailing: Use 4d galvanized nails to secure the slats.
Photos 9 and 10 and Figure A provide a detailed look at this step.
Step 5: Reinforce the Rim Joist
To prevent your fence from swaying, you’ll need to reinforce the rim joist.
- Strengthen: Add extra support to the rim joist using 3-in. galvanized screws.
- Stability: This will ensure your fence remains sturdy over time.
Photo 11 illustrates how to do this effectively.
Step 6: Apply Finishing Touches
Finally, apply the finishing touches to protect and beautify your new privacy fence.
- Deck Sealer: Use a clear deck sealer to protect the wood from weathering.
- Weathering: If you prefer a natural look, you can let the wood weather naturally.
- Deck Cleaner: If you’re updating an old deck, clean it thoroughly before applying the sealer.
By following these steps, you’ll have a sturdy and visually appealing privacy fence on your deck. Next, let’s explore some design ideas to make your fence stand out.
Conclusion
At Bonsai Builders, we pride ourselves on our master craftsmanship and exquisite designs. Our team is dedicated to creating upscale decks that embody impeccable taste and functionality, right here in Massachusetts.
Whether you’re looking to remodel your existing deck or build a new one from scratch, our expert builders can help you achieve the perfect blend of privacy and aesthetics. We understand that a well-designed privacy fence on deck not only enhances your outdoor comfort but also adds significant value to your home.
With over 26 years of experience in luxury home construction and remodeling, we have the expertise to turn your vision into reality. From selecting the best materials to incorporating unique design elements, we ensure every detail is meticulously crafted to meet your needs.
Ready to transform your deck into a private oasis? Contact Bonsai Builders today and let’s start building your dream outdoor space.
Frequently Asked Questions about Privacy Fence on Deck
Can you install a privacy fence on a deck?
Absolutely! A privacy fence on deck is a great way to create a secluded outdoor space. It can block unwanted views from neighbors or busy streets, making your deck a more enjoyable place to relax.
There are various designs you can choose from, like a privacy wall or a trellis. These not only provide privacy but can also add a stylish element to your deck. According to Reddit, many homeowners recommend checking with local fence suppliers or even ordering custom designs online to match your deck’s aesthetics.
What can I put on my deck for privacy?
There are several options to enhance privacy on your deck:
- Trellis: A trellis can be adorned with climbing plants for a natural privacy screen.
- Wooden Wall: Simple and effective, a wooden wall can be painted or stained to match your deck.
- Shrubs: Potted shrubs or small trees can create a green barrier.
- Outdoor Curtains: These can be drawn when needed and add a cozy feel to your deck.
- Existing Wall: Utilize any existing walls by adding lattice work or vertical garden features.
Combining these elements can create a multi-functional and visually appealing privacy solution.
Our Content
Our experienced contractors and design specialists carefully review and edit all content to ensure it meets our high standards for quality and accuracy. We do this to provide our readers with content that is accurate, complete, reliable, and up-to-date. Bonsai Builders, located in Sutton, Massachusetts is a trusted neighborhood building source across Massachusetts for kitchen remodeling, fence boards, and more with over 26 years of experience and over 125 jobs completed.
Bonsai Builders has renovated many split-level home kitchens across Massachusetts. Bonsai Builders is selected as best of Houzz year after year further showing their expertise and trust among homeowners in Massachusetts.